Fighting Boredom with Healthy Food + Creative Living
November 18, 2026
Goodbye Dim Solar Lights: Installing the HIBOITEC Low-Voltage Landscape Lighting System
ClicIf you’ve ever relied on solar pathway stakes to light up your yard, you know the frustration. As soon as the seasons shift and the sun’s angle changes, those solar panels stop getting enough direct sunlight to hold a charge. Even on their best days, solar lights rarely last through the night, they burn out after a season or two, and their dim glow barely illuminates your footing.
To give our walkway reliable, bright evening curb appeal without sacrificing our lush succulent garden vibe, we upgraded to a hardwired low-voltage setup from HIBOITEC. Thank you to Hiboitec for sending me the lighting for this collaboration in exchange for my installation experience.
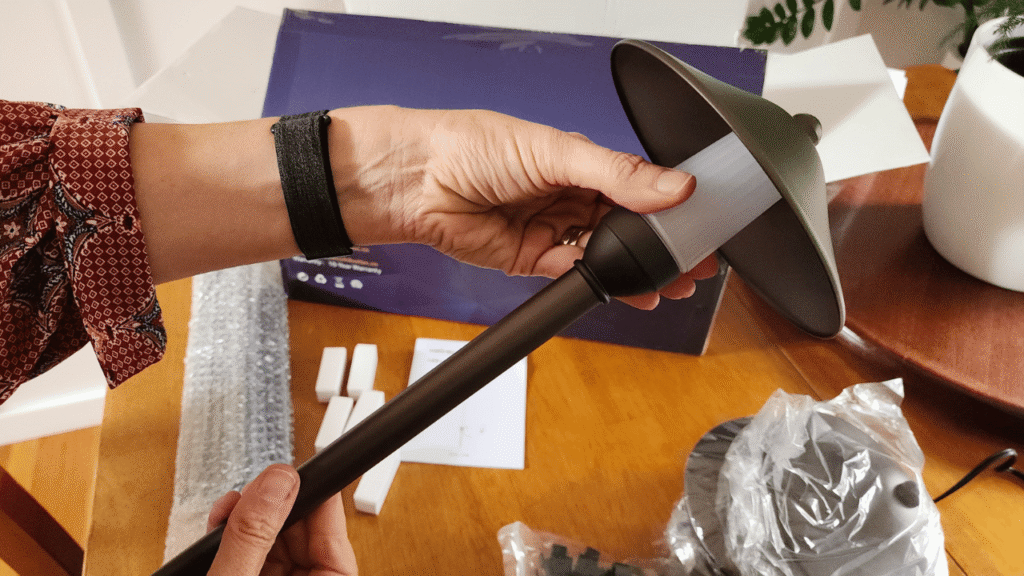
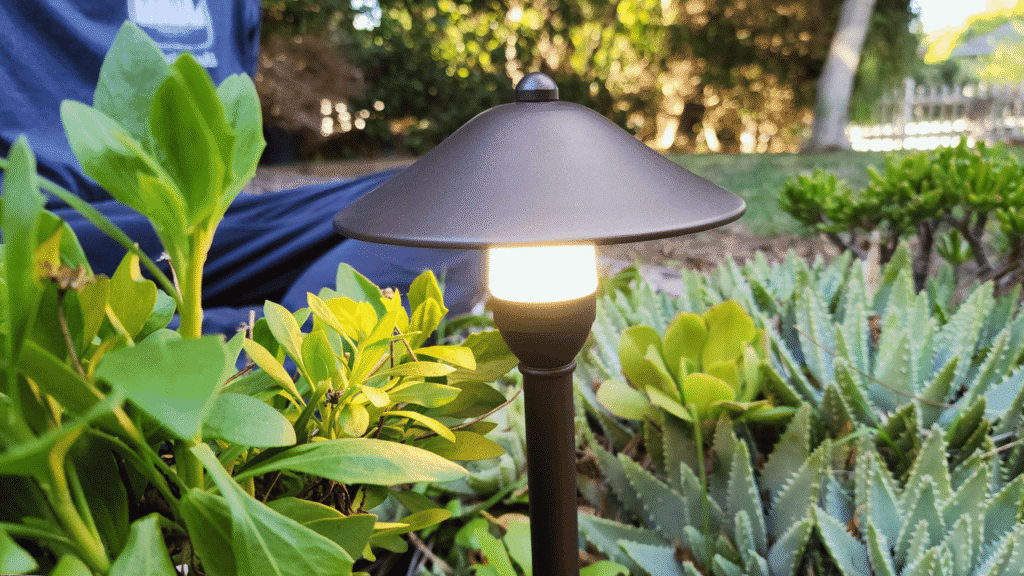
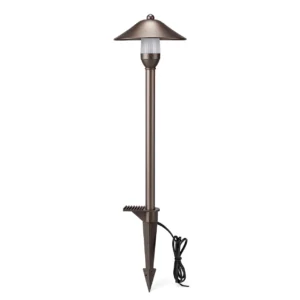
HIBOITEC Bronze China Hat Style Light
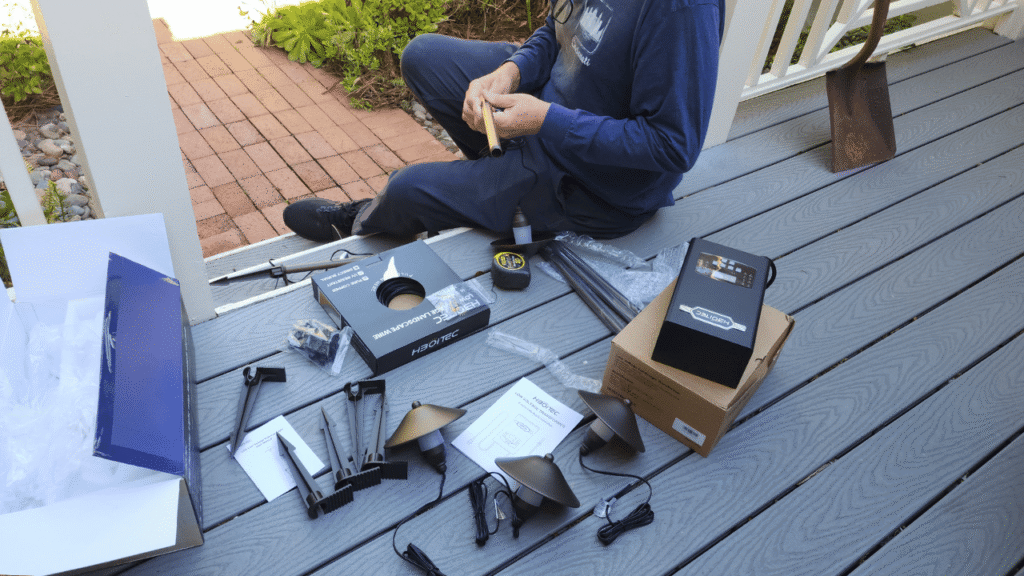
Here are the HIBOITEC products we received for this low-voltage pathway lights project:
Here is how we planned, measured, and installed the entire system—plus why it’s a massive upgrade over solar.
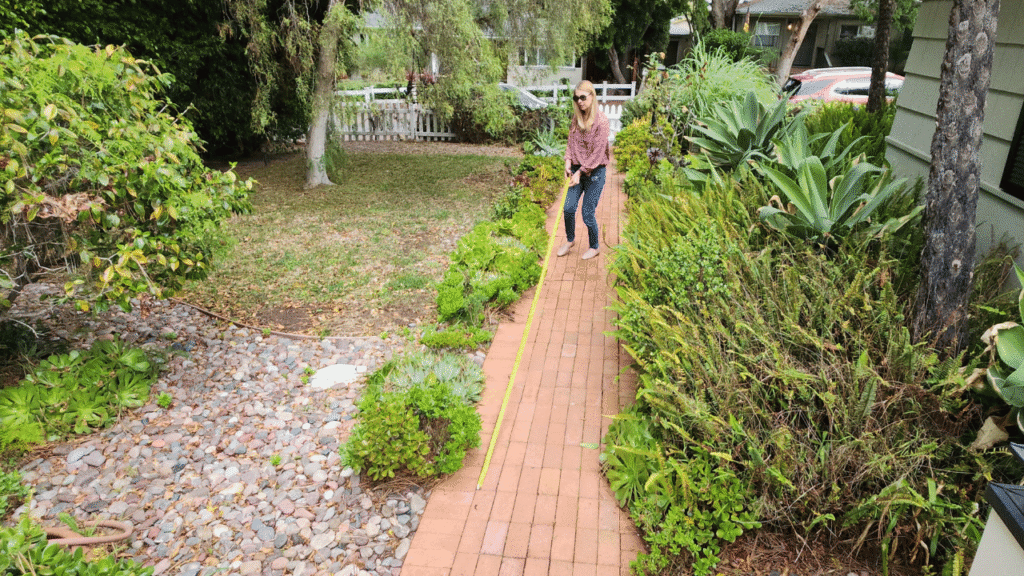
Measure for the HIBOITEC Landscape Lights Project to determine needs.
Step 1: Measuring and Planning Your Layout
Before digging a single trench for wire, careful measuring makes all the difference. Our pathway spans approximately 30 feet, and HIBOITEC recommends spacing path lights 6 to 8 feet apart for overlapping, even coverage. Placing 6 umbrella path lights across that 30-foot stretch gave us roughly 5 to 6 feet of spacing between each fixture—creating a continuous pool of light without dark spots.
Trench for landscape wires to desired light placement. This can be tricky if navigating around existing landscape.
Once you know your fixture count and total run length, you can verify that your power supply and wire gauge match the job:
Why the 200W Dual-Zone Transformer is Ideal: Each HIBOITEC path light uses a 3W replaceable G4 LED bulb. Six lights draw just 18W total. HIBOITEC recommends keeping your total fixture load under 80% of the transformer’s rated capacity (up to 160W on a 200W unit). Not only does the HIBOITEC 200W 2-Zone Transformer handle this pathway effortlessly with plenty of headroom to expand later, its two independent zones let us run our front path on the built-in dusk-to-dawn photocell sensor while leaving a second terminal free for future backyard spotlights on a separate timer. The HIBOITEC Transformer was very easy to install to the side of our deck, and they even provided easy drill guides for exact placement.
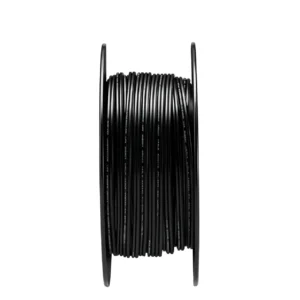
Why the Cable & Voltage Tap Work Together: For a 30-foot run (well under the 50-foot threshold for standard runs), connecting to the transformer’s 12V AC terminal—rather than needing the 14V/15V tap used to compensate for long-distance voltage drop—delivers steady, full brightness from the first light to the last.
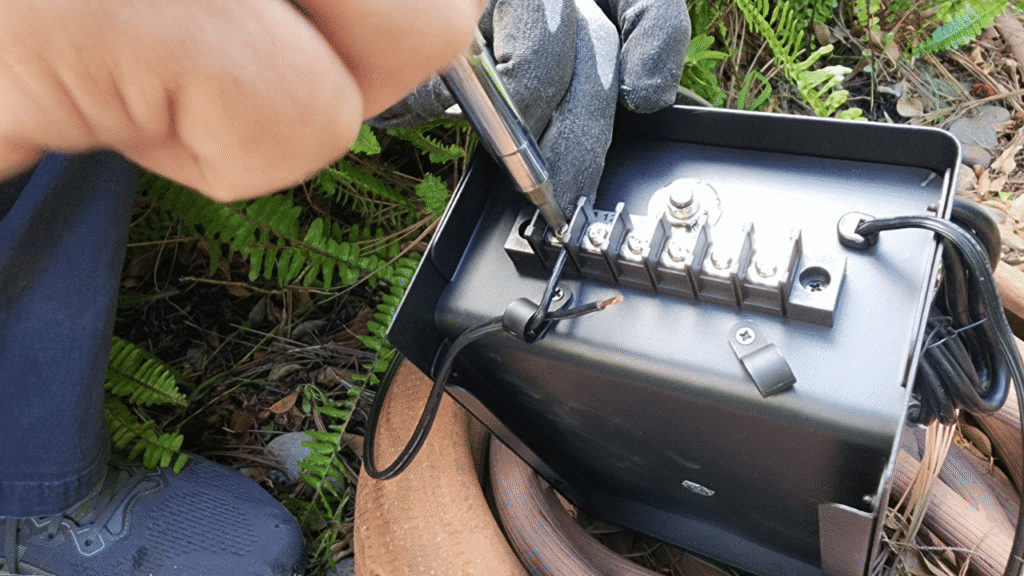
Wiring to the transformer.
Step 2: Navigating Around Succulents and Burying the Wire
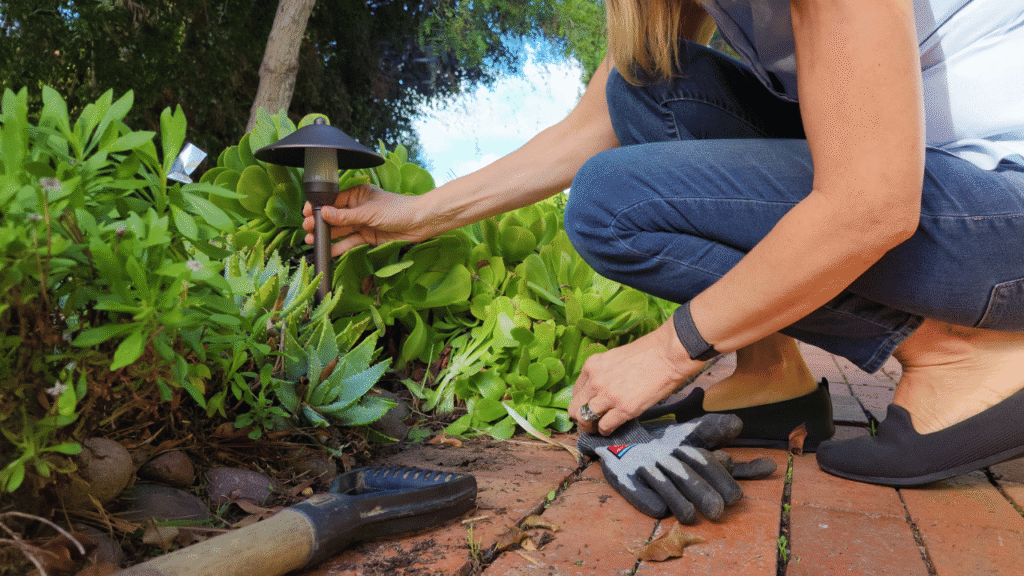
One of our biggest priorities was keeping our established succulent beds intact. Unlike rigid solar stakes that constantly get knocked loose or shaded out by overhanging plant branches, low-voltage path lights can be tucked right among dense plantings.
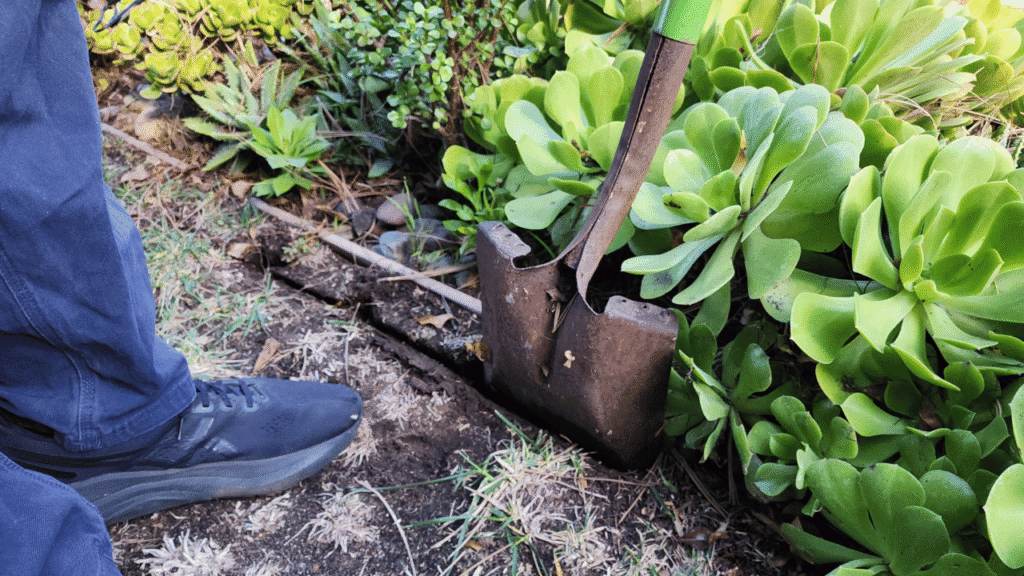
The flat edge shovel method was an easy way to create a thin trench line for the main landscaping wire.
The trickiest part of the installation was trenching the main cable 6 inches below the soil surface around existing succulents without disturbing their shallow root systems. We used the flat shovel method to cut a line into the soil and gently lift back the earth to make a thin trench. Taking our time with a narrow hand trowel allowed us to weave the direct-burial cable cleanly behind the plants.
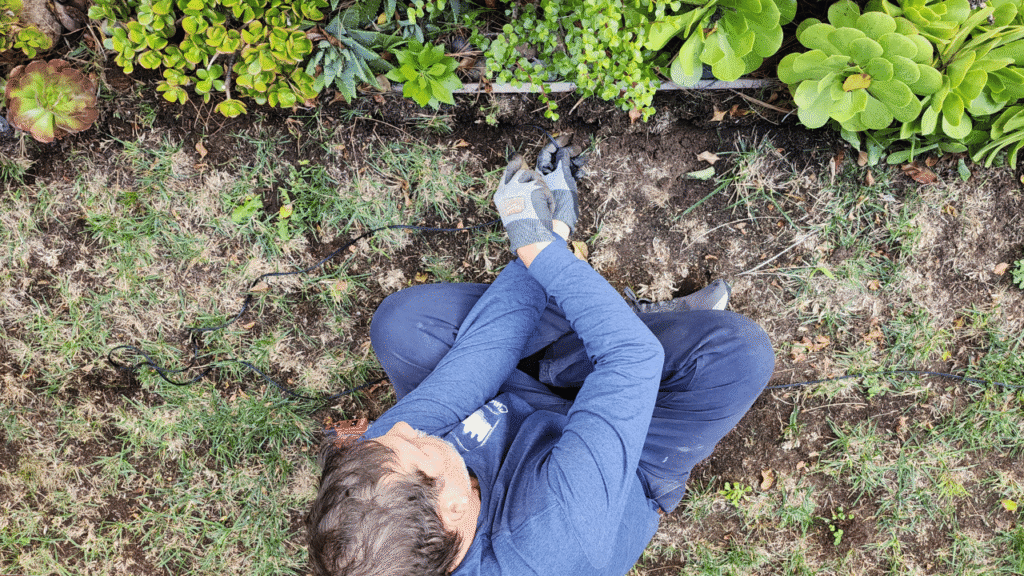
Burying the wire with a blunt metal tool to bury wire safely.
From there, HIBOITEC’s hardware made the wiring painless:
Generous Lead Wires: Each fixture includes a 47-inch lead wire, which meant we could position the umbrella lights right at the edge of the walkway while keeping the main buried trunk line tucked safely back behind the succulents.
No-Strip Quick Connectors: Instead of cutting and splicing wires underground, each light uses a no-strip quick connector that snaps directly onto the main line.
Replaceable G4 Bulbs: Unlike disposable plastic solar lights or sealed LED fixtures that force you to throw away the whole unit when a diode dies, these die-cast aluminum lights use standard G4 bi-pin bulbs that swap out in seconds.
Testing the light connection during the day. It’s already so bright!
The Final Result: Warm Glow Meets Lush Greenery
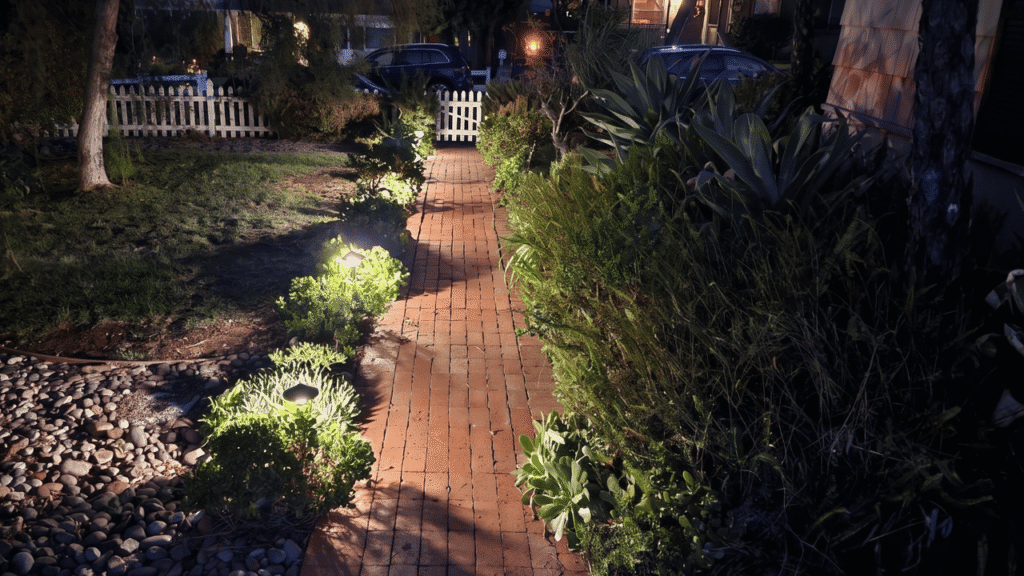
The difference at dusk is night and day. The pathway is completely illuminated from end to end, making evening walks safe and welcoming regardless of the season or cloudy weather. In all the entire installation process took several hours, and again we were navigating around established plants. If we had a clean run, the whole project would have taken significantly less time.
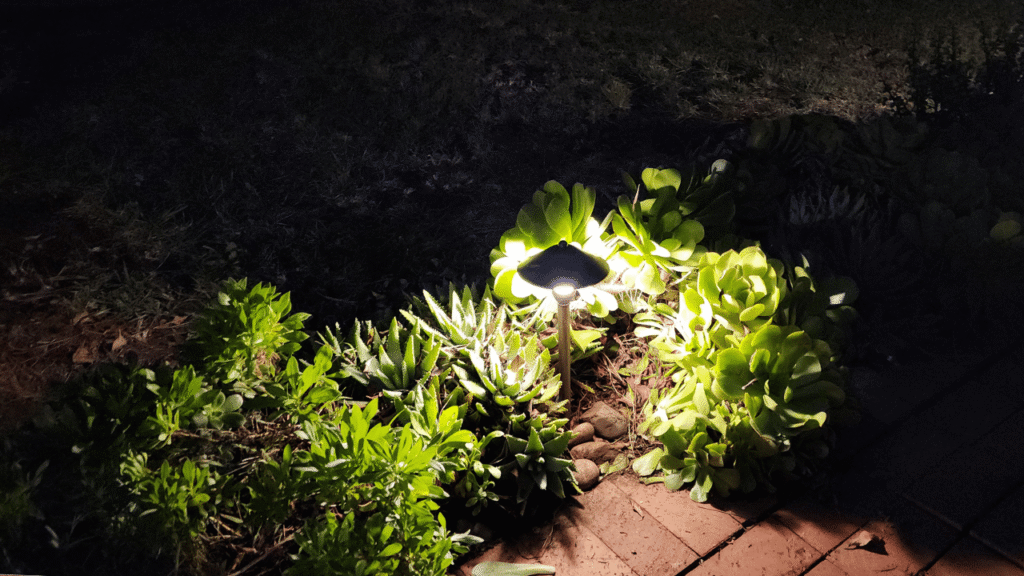
Nice and bright lighting to illuminate our path amongst our plants.
We really appreciate that HIBOITEC also helps you with the project process. You may visit the Plan My Yard portion of their website and it will help you plan your layout and product needs. This takes all the second guessing out of the project – in fact, this process was so much easier than I had imagined, I wish we had installed low voltage pathway lighting much sooner.
During the day, the oil-rubbed bronze umbrella tops blend naturally with the earthy tones and textures of our succulents. At night, their downward-facing 2700K warm daylight glow highlights the sculptural shapes of the plants without any harsh glare. If you’re ready to retire unreliable solar stakes for good, a measured low-voltage setup like this is hands-down the cleanest, brightest solution.
Safe illuminated pathway light that will stay on when we want it on!
Here are the HIBOITEC Products with Prices (at time of publication)
The HIBOITEC lighting products are very high quality and I felt an excellent value for the money. Again, you can spend a fortune on solar lighting that’s going to be weak and not last. It’s well worth the time of installation and cost to get long lasting, beautiful and upscale lighting in your yard.
HIBOITEC Low Voltage Pathway Lights 4-pack 3w 2700k Oil Rubbed Bronze – at time of this publication $94.99
The HIBOITEC Low Voltage Pathway Lights feature weather-resistant die-cast aluminum construction, no-strip quick connectors, and user-replaceable 3W 2700K G4 bulbs.
Hiboitec 200w Low Voltage Landscape Transformer, Outdoor Lighting – at time of publication $69.99
Please note HIBOITEC sent me these products for installation but I did not receive compensation for the content. All opinions and experiences are that of my own.
Hi, I’m Meg! I have a B.S. in Dietetics from Cal Poly, SLO and am an avid healthy/plant-based diet fan. I battle boredom by playing with my food, entertaining and discovering new ‘better for you’ products and fun trends. I am passionate about utilizing the fresh produce that is available to me in Southern California and craft healthy, yet creative recipes for friends, family and readers. As a fan of all things natural, that also includes promoting science (STEM) to our young learners as our children are the future stewards of our beautiful planet. My real life and dream life often collide and combust into bursts of interesting projects, food creations, and boondoggles. My site is a time-stamp of experiences that have brought fun and uniqueness into my life and I love to share with my audience. Contact Meg at BoredMom.com
PAID POST DISCLOSURE NOTICE: BoredMom.com participates in various affiliate marketing and link placement programs, which means we may get paid fees or commissions on editorially chosen products purchased through our links.
PAID POST DISCLOSURE NOTICE: BoredMom.com participates in various affiliate marketing and link placement programs, which means we may get paid fees or commissions on editorially chosen products purchased through our links.