If you’ve noticed that the water flowing from your kitchen faucet has slowed to nearly a trickle, it might not be the fault of the sink. Instead, it’s likely the fault of a small component located at the tip of the faucet. This component is called the aerator and, despite its diminutive size (about the size of a dime), its plays a major role in making sure your tap water flows freely and cleanly.
According to the professionals at Aerator.com, a kitchen faucet aerator is a simple fitting that provides a gentle, splash-free water flow, creating a consistent stream of straight water. It also will assist you with reducing the amount of water you use which will lower your utility bills. But when the aerator gets clogged due to mineral deposits in the water, it can lead to not only an inconsistent water flow, but a greatly reduced flow. That’s when the clogged aerator needs to be cleaned.
But can you go about cleaning the aerator on your own, even if it’s a non-removable model? The answer is yes. A recent report from HomeKitch states that if the water from your kitchen sink is flowing too slowly or spraying in all directions, the aerator is either clogged or dirty. This happens more often to people who live in areas where the water is hard and mineral buildup occurs. Often times you will notice a green or white crust that forms around the faucet tip. This is a dead giveaway that your aerator needs to be cleaned.
In most cases, aerators can be unscrewed from the faucet and easily cleaned. But on occasion, you’ll find that the faucet is built-in, which means you need to find another way to make it clean.
Collecting the Right Tools for Cleaning
Prior to cleaning the non-removeable kitchen faucet aerator, it’s important to collect all the tools you’ll need. Most of these you can find already lying around the house. They include the following:
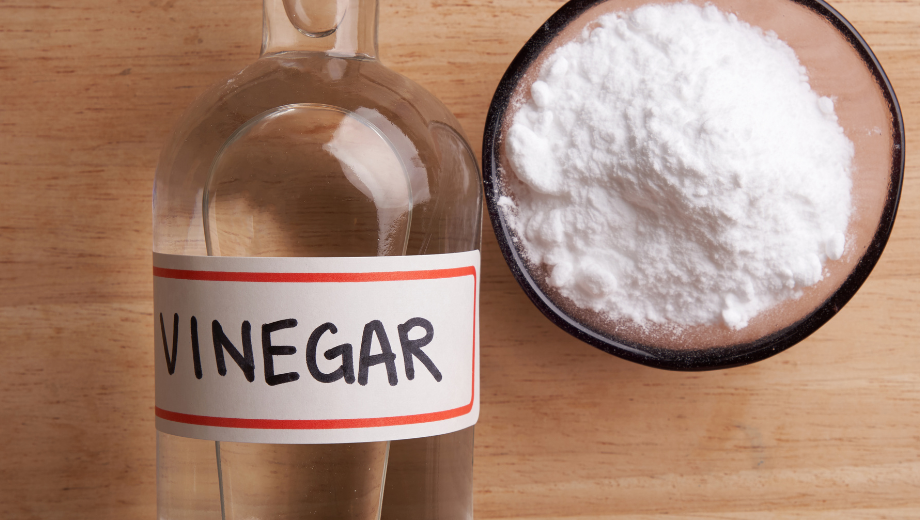
–Vinegar
–A plastic sandwich baggy
–One rubber band
–One toothbrush
–One toothpick
–paper towels
–A small bowl
When everything is collected, place it all by the sink for easy access.
Soak the Dirty Aerator in the Vinegar
Now that you have collected your “tools,” your first item of business is to soak the aerator in vinegar. Fill the sandwich baggy with vinegar and place it over the faucet. Use the rubber band as a tie to keep it in place.
This is a good time to make some lunch or go for a walk or both, since you will need to soak the faucet in the vinegar for about an hour. After soaking, remove the bag, and dump the used vinegar down the drain. Then, use the toothbrush to scrub the exterior of the faucet where the aerator is located. Once that’s done, use your toothpick to poke small holes in the aerator. This will remove any minerals that are stuck inside it.
Flush with Hot Water to Clean the Faucet Interior
Once you’ve soaked and scrubbed the aerator exterior, you need to concentrate on the interior. You will use hot water to clean the inside. This is a crucial step in the cleaning process that helps remove the dirt that you have already loosened up with the vinegar.
Heat two to three cups of water using your microwave. The water needs to be hot, but not boiling since this could damage the faucet. Pour the water directly over the aera of the faucet where the aerator is located. All the soft dirt will be removed and you can allow it to wash down the sink drain.
Once that’s complete, select the warm water option on your faucet and allow it to run. The purpose of this is to flush out any remaining particles that the vinegar couldn’t reach. If you find there is still some dirt or debris left over, give the faucet aerator a second scrubbing with the toothbrush.
Finally, check to see of the water stream is back to normal. Run both the hot and cold water. If it isn’t back to normal, you might be required to repeat the entire cleaning process over again. But this time, allow the faucet aerator to soak in the vinegar for two hours minimum. You might even want to soak it overnight while you sleep.
In the end, you should be left with a non-removeable faucet aerator that’s clean and unobstructed. But if you find that despite your best efforts, you cannot get your aerator clean, it’s a good idea to call in a professional to do the job right.


