Love creating succulent crafts? Then you’ll LOVE making these succulent Christmas Trees! They do take a bit of time and a LOT of succulents, but it’s so worth it!
If you’re looking to create a beautiful succulent arrangement without breaking the bank, consider propagating your own succulents from leaf cuttings or offsets. This can be a fun and rewarding DIY project that allows you to customize your arrangement to your liking.
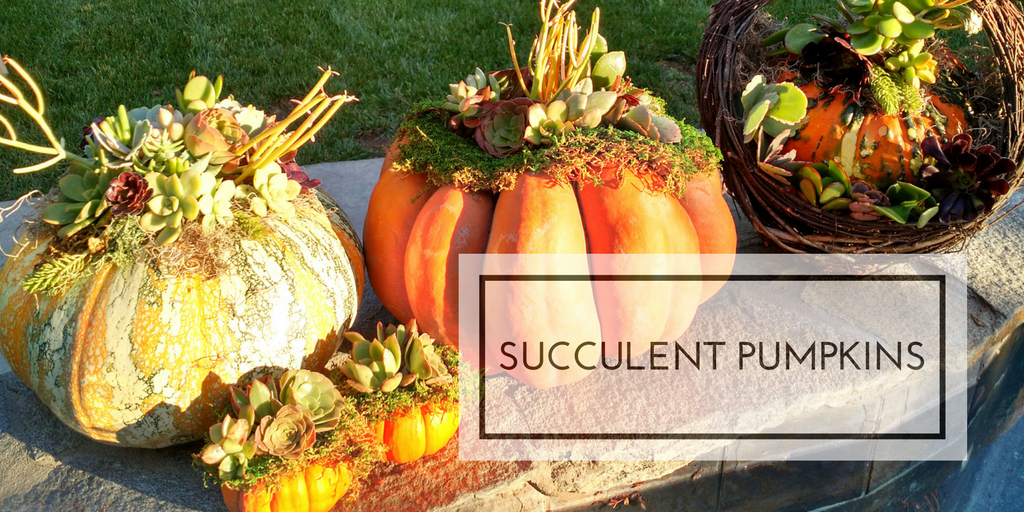
How to Source Free Succulents:
- Your Own Backyard: Many succulents, like hens and chicks, produce offsets or “pups” that can be easily removed and replanted.
- Local Facebook Groups: Join local Facebook groups dedicated to succulents. You’ll often find people giving away or trading plants, especially during spring and summer.
Choosing the Right Succulents:
- Variety of Sizes: Using a mix of small and large succulents adds visual interest to your arrangement. Smaller succulents can be placed on top, while larger ones form the base.
- Laying Succulents: Succulents with flat leaves or stems are easier to work with and create a more cohesive look.
- Stem Length: Opt for succulents with at least an inch-long stem to allow for easier placement and arrangement.
- Avoid Spiky Succulents: Spiky succulents may not sit well in an arrangement and can be more difficult to work with.
By following these tips, you can create stunning succulent arrangements using free or low-cost materials.

I used small 9″ frames, but there are Christmas Tree frames as big as 24″ or 36″ inches on Amazon. I also purchased some peat moss on Amazon (sold in bags & free Prime Shipping) and it was a great base to stuff inside the cone for the succulents inside the frame. Soak moss in a bucket with some water and carefully stuff each cone frame. Using the gardener’s groundcover fabric, wrap around the frame like a burrito, and then secure using a hot glue gun.

Using a round piece of planters foam, plug up the bottom. If you don’t have foam, you can hot glue some gardeners fabric on the bottom to keep the peat moss in side. Or, you can just have the whole thing uncovered and place it on top of a waterproof plate or disc to keep everything contained.
Using a sharp tool about the size of a pencil (a screwdriver works well), puncture holes in the fabric where you want to insert a succulent. Poke, pop in a succulent stem and keep filling the tree. Try to keep the spacing tight so the fabric doesn’t show. The succulents WILL grow however if you keep it watered, so they will fill in over time.

I popped in all of my succulents very carefully and then used a little hot glue to secure some of the floppy succulent leaves sticking out, or help position the larger plants in place. As long as the glue is not blocking the stem, then the plant will be fine. If you’re a purist, you don’t have to use hot glue – but I am addicted to using glue to make sure everything is in place!
If you want to amp up the color in your creation, I highly recommend filling in between the succulents with soft light green moss by SuperMoss. It’s so vibrant and really helps round out the tree.

I did try to mix up the variety of plants so I had some reds in my creation. The more colors, the better!

Take your succulent tree outside once a week and mist it with water. If you live in a temperate environment, you can leave it out overnight or during the day in the shade for a few hours.

The succulent tree should keep its shape and look all the way through the holiday season! These make gorgeous gifts or beautiful centerpieces. Happy crafting!
CARE INSTRUCTIONS
Take your succulent tree outside and mist it heavily twice a week to soak through to the layer below. After the holidays, you may take it apart and replant your succulents.